A new USB WiFi adapter usually arrives with a miniature driver disc, and the PC it is meant for usually has nowhere to put it. Optical drives vanished from mainstream desktops and laptops years ago, yet the little disc still ships in the box out of habit. None of that matters, because the disc was never essential and every current adapter installs perfectly well without it.
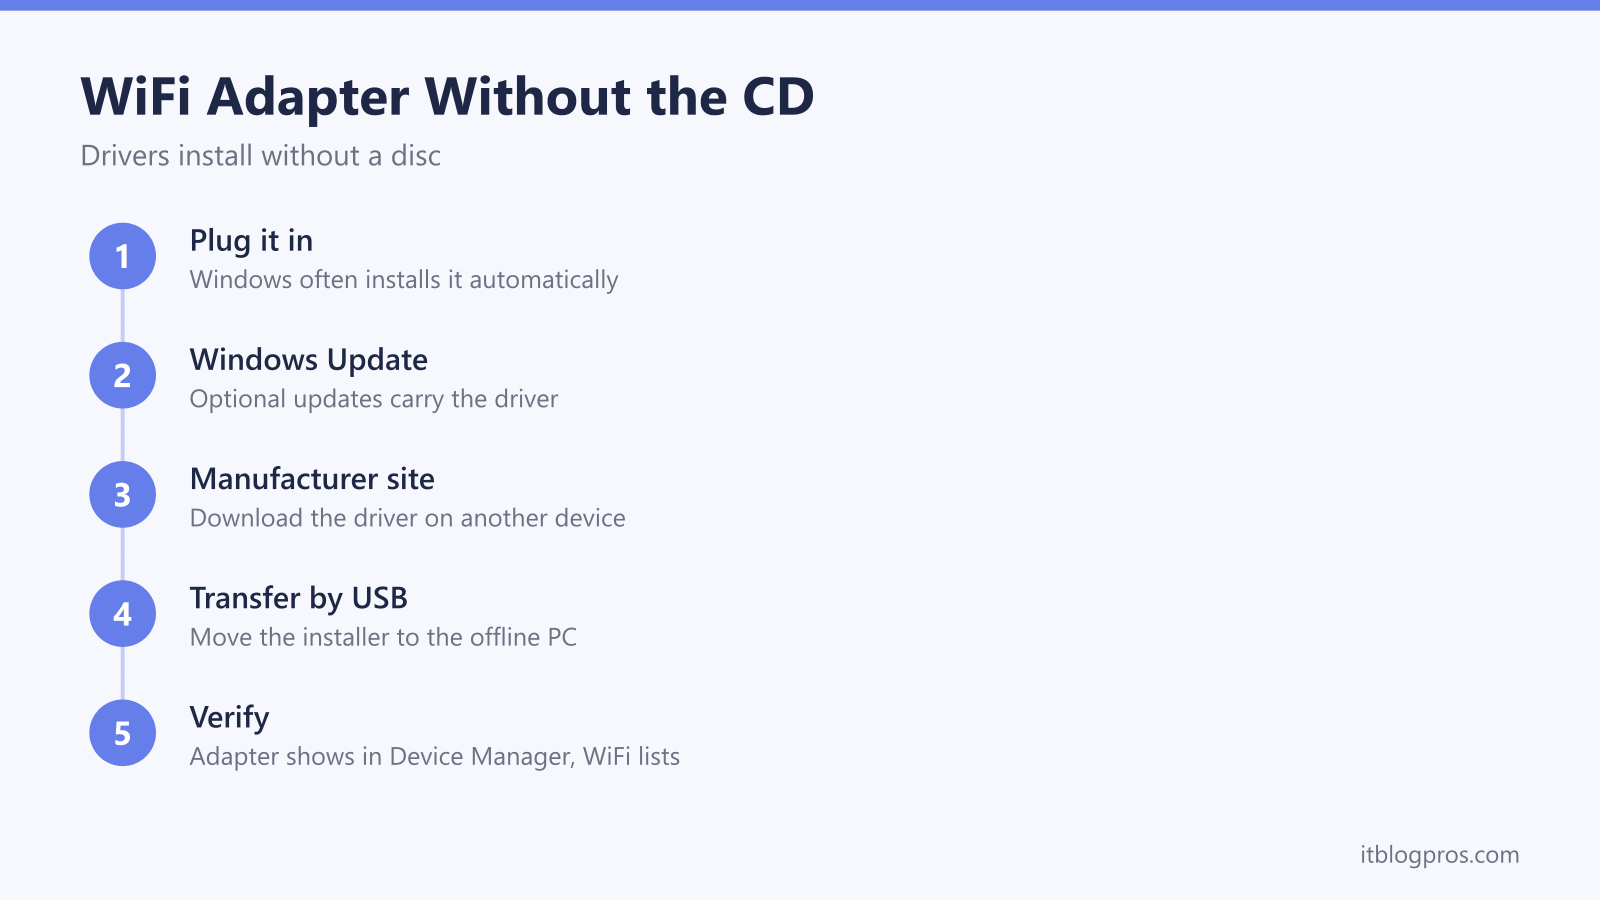
The CD that came with a WiFi adapter is optional, and most current PCs cannot read one anyway. Plug the adapter in and Windows 10 or 11 usually installs a working driver on its own. If it does not, check Windows Update's optional driver updates, then download the driver for your exact model from the manufacturer's website, moving it over on a USB stick if the PC has no internet.
Key Takeaways
- Windows 10 and 11 ship built-in drivers for most common WiFi adapters, so plugging the adapter in and waiting a minute is often the whole installation.
- The optional driver updates section in Windows Update catches many adapters that the automatic install misses.
- When the PC has no internet at all, download the driver on a phone or another computer and carry it over on a USB stick.
- The exact model number and hardware version printed on the adapter decide which driver is needed, especially for TP-Link models.
- Device Manager confirms success when the adapter is listed under Network adapters with no warning triangle and WiFi networks appear in the taskbar.
The Driver CD Is a Relic, Not a Requirement
The disc in the box is nothing more than a snapshot of the driver files as they existed when the adapter was packaged. By the time the adapter reaches you, the manufacturer has often published a newer version online, so the disc frequently installs an out-of-date driver even when it works.
It also physically does not fit modern hardware. Most of these discs are the 8cm mini format, which must never go into a slot-loading drive, and the point is largely academic because the majority of desktops and laptops sold in the last decade have no optical drive at all. Manufacturers know this, which is why every current adapter brand hosts its full driver library on its own support site. Nothing on the disc exists only on the disc.
Plugging In and Waiting Handles Most Adapters
Windows 10 and Windows 11 include a large library of built-in drivers covering the WiFi chipsets that most USB adapters are built around, including common Realtek and MediaTek parts. For a large share of adapters, the entire installation is this: push the adapter into a USB port, watch the brief "Setting up a device" notification, and wait a minute or two while Windows sorts itself out.
If the PC already has some form of internet during this step, perhaps an Ethernet cable to the router or an existing WiFi connection on a laptop, Windows also checks Windows Update in the background and pulls down a matching driver automatically. Once the notification clears, click the network icon in the taskbar. If a list of nearby WiFi networks appears, the job is done and there is nothing else to install.
Windows Update Carries the Drivers the First Pass Missed
Some adapters are recognised by Windows but only get their driver through the optional updates channel, which does not always install by itself. It is worth checking manually.
On Windows 11, open Settings, go to Windows Update, then Advanced options, then Optional updates, and expand the driver updates section. On Windows 10, open Settings, go to Update & Security, then Windows Update, and click View optional updates. If a wireless or network driver is listed there, tick it and let it download and install, then restart the PC if prompted.
This route needs a working internet connection, which a desktop without WiFi may not have. One trick solves that neatly: connect an Android phone or iPhone to the PC with its charging cable and switch on USB tethering (Personal Hotspot over USB on an iPhone). The PC gains a temporary wired internet connection through the phone, Windows Update can fetch the driver on its own, and the tether can be switched off the moment WiFi is working.
The Manufacturer's Website Covers the Offline PC
The awkward case, and the reason this page exists, is the PC with no internet connection of any kind. It cannot download its own WiFi driver because it needs the WiFi driver to get online. The way around the loop is to use a device that is already online.
On a phone, a work laptop, or any other computer, go to the support section of the adapter manufacturer's official website, search for the exact model, and download the Windows driver package. Copy that file onto a USB stick, plug the stick into the offline PC, and run the installer. If the download is a zip archive rather than an installer, extract it, open Device Manager, right-click the adapter (it may sit under Other devices at this stage), choose Update driver, then Browse my computer for drivers, and point it at the extracted folder.
Stick to the manufacturer's own site for this download. Third-party "driver download" sites rank well in search results but commonly wrap old drivers in adware-laden installers, and there is no reason to touch them when the official file is free.
The Exact Model and Hardware Version Are Printed on the Adapter
Driver pages are organised by precise model, so vague guessing does not work. The model number is printed on the adapter itself, usually on the underside of the casing or moulded into the plastic, and it is also on the box and any receipt or order history. It looks like TL-WN725N, Archer T2U, or similar.
The detail that catches people out is the hardware version. TP-Link in particular prints a version marker such as V1, V2, or V3 next to the model number, and different hardware versions of the same model can use entirely different chipsets. A driver built for one version may simply not work on another, so match both the model and the version on the download page. When no version is printed anywhere, the adapter is generally the first version. Other brands such as ASUS, Netgear, and EDUP follow the same model-plus-revision pattern, so the same care applies.
Device Manager Confirms the Install Worked
Right-click the Start button and choose Device Manager, then expand the Network adapters section. A successful install shows the adapter under its proper name, something like "TP-Link Wireless USB Adapter" or the chipset name, with no yellow warning triangle over its icon. The second confirmation is the taskbar: click the network icon and a list of nearby WiFi networks should appear, ready to join.
If the adapter is listed cleanly but Windows still refuses to connect to a network, the driver is no longer the problem and the connection settings are. The fixes in Windows 11 WiFi problems and 10 easy fixes cover the usual suspects from that point onwards.
A Short Checklist Sorts Out the Stubborn Cases
A handful of problems account for almost every failed install, and each has a quick answer.
- An entry under Other devices with a warning triangle, often labelled "Unknown device" or "802.11n WLAN", means Windows sees the hardware but has no driver for it. That is the cue to fetch the manufacturer's package as described above.
- If the adapter does not appear in Device Manager at all, move it to a different USB port. On a desktop, prefer the rear ports on the motherboard itself, since front-panel ports run through extra cabling and fail more often.
- USB 3.0 and USB 2.0 ports are both worth trying. A few older adapters install and run more reliably in a USB 2.0 port, and active USB 3.0 traffic is a documented source of radio interference in the 2.4GHz band, so a struggling adapter sometimes behaves better away from a busy USB 3.0 socket.
- If a driver install went wrong halfway, right-click the adapter in Device Manager, choose Uninstall device, unplug the adapter, restart the PC, and plug it in again for a clean start.
- An adapter that never shows up in Device Manager on any port, and does the same on a second computer, is faulty. No driver fixes dead hardware, so return or replace it.
Two related problems look like driver failures but are not. An adapter that installs fine yet hovers at a weak signal has a positioning or antenna issue, covered in the guide to a USB WiFi adapter only showing 2 bars. A connection that works and then repeatedly cuts out points to power management or router-side trouble, which the guide to WiFi that keeps dropping on a laptop works through step by step.
An Ancient 2.4GHz Adapter Deserves Retirement, Not Rescue
Everything above applies just as well to a ten-year-old adapter dug out of a drawer, and getting one working costs nothing, so it is a reasonable first move. The honest caveat is performance. Old budget adapters are typically 802.11n and 2.4GHz-only, which limits real-world speeds to a fraction of a modern broadband connection and locks the PC onto the most congested band in the house.
If the adapter in hand is one of those, and the PC matters, a current dual-band model is a cheap upgrade that installs in exactly the same CD-free way described here. A WiFi 6 unit such as the TP-Link Archer TX20U Plus (AX1800 class) adds 5GHz support and external antennas, which together fix most of the speed and congestion complaints an old 2.4GHz stick causes. Anyone weighing that up can Check the TP-Link AX1800 WiFi 6 USB adapter on Amazon UK →. A recent dual-band adapter that already works well needs no replacement at all.