Logging in to a Hyperoptic router means opening the settings panel built into the Hyperhub, the box Hyperoptic supplies with its full fibre packages. From there you can rename your WiFi, set a new wireless key, restart the router and reset it. There is one thing worth knowing before any of that, and it is the reason most generic Hyperoptic router login advice fails: Hyperhub is a brand name, not a single product. Eight physically different routers from four manufacturers carry that name, and their menus do not match. This guide gives the login address, shows exactly where Hyperoptic prints the credentials, names all eight models so you can identify yours, and works through the fix ladder for when 192.168.1.1 refuses to load.
The Hyperoptic Hyperhub login address is 192.168.1.1, typed into a browser on a device connected to the hub. The login credentials are printed on the removable card on the back of the router and on the sticker beside it. Hyperhub is a brand name covering eight different routers, so check the model printed on your unit before following any menu path.
Key Takeaways
- Hyperhub is a brand name covering eight different routers from Zyxel, ZTE, Nokia and Tilgin, so the model printed on the unit decides which instructions apply.
- The Hyperoptic router login address is 192.168.1.1, typed into the browser address bar from a device already connected to the Hyperhub.
- Login credentials are printed on the removable card on the back of the router and on the sticker, and the password is unique to each unit with no universal default.
- On the Zyxel Hyperhub models the WiFi name and password sit under Network Setting then Wireless, reached from the dropdown in the upper right.
- A login page that will not load almost always means the device is on mobile data, a guest network or a neighbour's WiFi rather than on the Hyperhub itself.
The Hyperhub is a brand name rather than a single router
Hyperoptic supplies a router with its full fibre packages and calls it the Hyperhub. That name is where most Hyperoptic router login guides quietly go wrong, because Hyperhub is branding rather than a model number. Hyperoptic's own router help pages list eight physically different units, built by four separate manufacturers, all sold under the one Hyperhub name.
Those eight units do not share an interface. A menu path that works perfectly on a Zyxel Hyperhub simply does not exist on a Tilgin one, and the labels on the buttons differ too. Even the startup behaviour varies between them: a Tilgin unit runs through red, then orange, then green as it boots, while a ZTE unit is only fully online once the power, internet, WAN and WLAN lights show green.
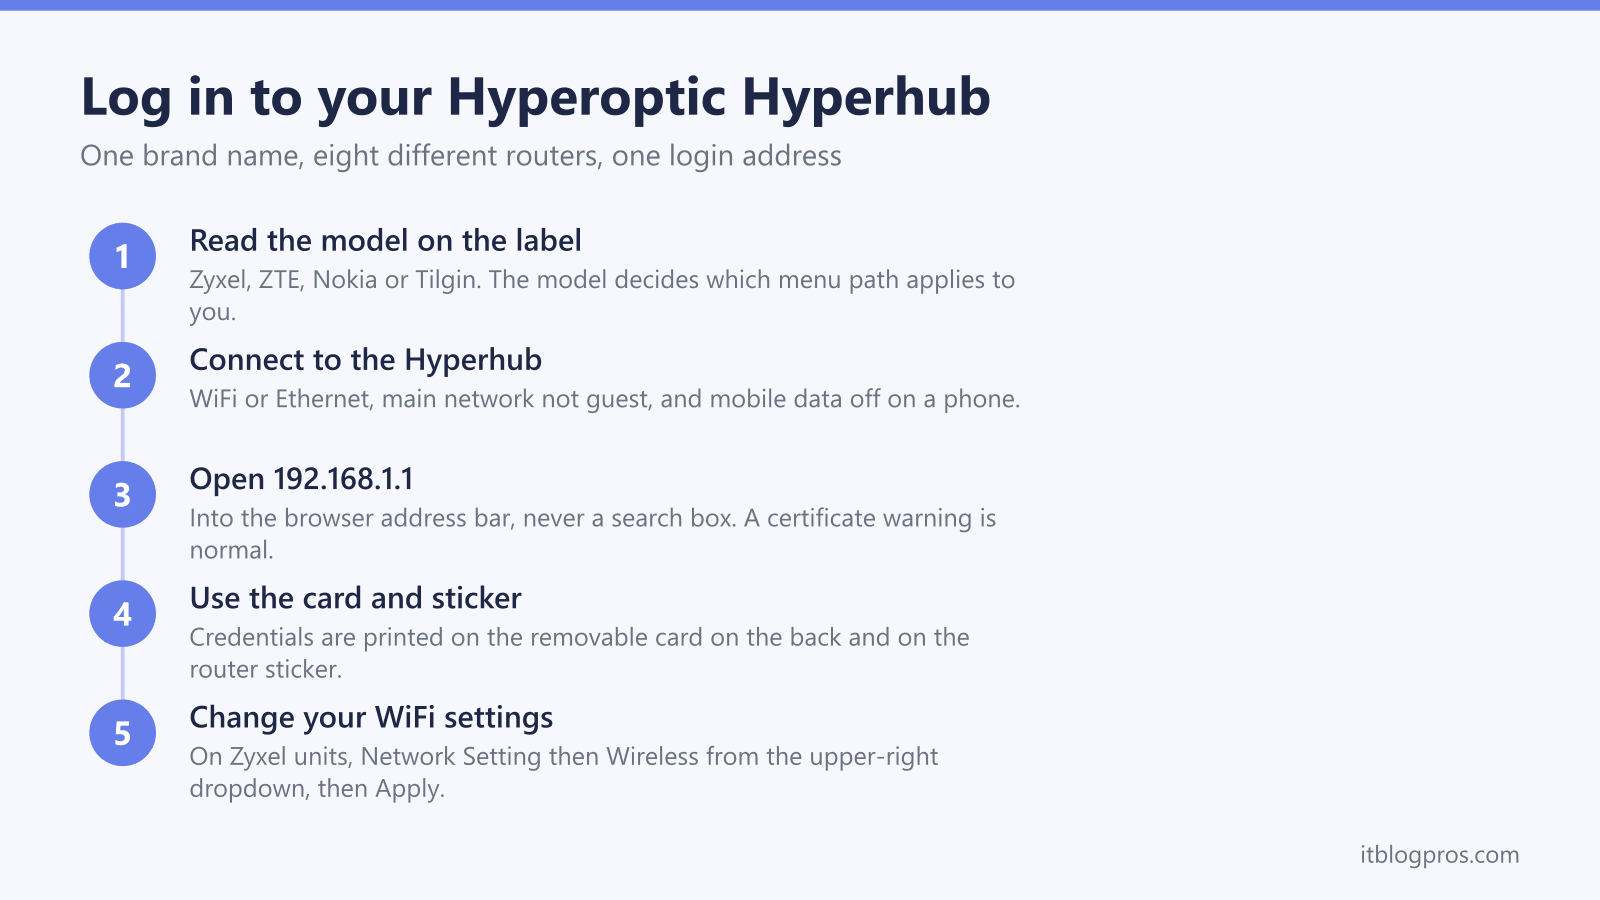
So the first step of any Hyperoptic router login is not typing an address. It is turning the router around and reading the model name printed on the label. Hyperoptic gives customers exactly this instruction on its own help pages, telling them to check the model name on the router and then choose the matching guide. Do that before following any instruction below.
Eight routers ship under the Hyperoptic Hyperhub name
Hyperoptic lists these eight models as Hyperhubs, and each one has its own setup guide in the help centre:
The three Zyxel units are the EX3501, the EX3301 and the EX5601. The three ZTE units are the H3600, the H298A and the H298N. There is one Nokia unit, the HA-140W-B, and one Tilgin unit, the HG2381.
Broadly, newer installations tend to arrive with one of the Zyxel units, while ZTE, Nokia and Tilgin hardware turns up on longer-standing connections. That is a tendency rather than a rule, and it is not something to guess at. Hyperoptic has been running for years across a large number of buildings, and a flat can easily still be running the router that was fitted when the block was first connected.
The printed label is the only reliable answer. It sits on the back or the underside of the unit alongside the WiFi details, and it carries the manufacturer name and the model number in the forms listed above. Once you have that model, everything else in this guide gets a great deal more specific, and the manufacturer-specific guide in Hyperoptic's help centre becomes the right one to follow for anything that is not covered here.
The Hyperoptic router login address is 192.168.1.1
Every Hyperhub hosts its settings panel at the local address 192.168.1.1. That address is not a website. It is a device sitting on your own home network, which has two practical consequences.
First, the device you are using has to be connected to the Hyperhub itself, over its WiFi or through an Ethernet cable. A phone that has quietly dropped onto mobile data will not reach it, and neither will a laptop that has latched onto a neighbour's network. Second, the address has to go into the browser address bar and not into a search box. A search engine cannot find a device that only exists inside your home, so a search returns a page of unrelated results instead of your router.
Some Hyperhub units, the Zyxel models in particular, answer on https://192.168.1.1 and the browser may show a certificate warning as the page loads. That warning is normal for a device on your own network, which cannot hold a public certificate, and it does not mean anything is wrong. The full troubleshooting sequence for that address, including what to do when nothing answers at all and how to find your actual gateway address, sits in our 192.168.1.1 router login guide.
The login credentials sit on the removable card and the sticker
Hyperoptic prints the login details twice, which is generous and worth knowing about. There is a removable card on the back of the router carrying the WiFi and login details, and there is a sticker on the router itself with the same information. It is the same arrangement BT uses with its pull-out settings card, and it exists so that the details survive one of the two going missing.
The password on that card is unique to your individual unit. There is no universal Hyperoptic default password, and any site offering you one for every Hyperhub is guessing. On Hyperoptic's guide for the Zyxel Hyperhub models the user name field takes admin and the password is the printed one from the card or the device label. The other manufacturers label their fields differently, so read what the card on your own router actually says rather than assuming.
One distinction catches people out constantly. The admin password logs you in to the router's settings. The WiFi key joins devices to the wireless network. They are different credentials doing different jobs, and they are usually different strings. If the card is missing entirely and neither password is working, our guide on how to find the router admin password covers where else to look and what a factory reset does and does not restore.
What you can change once you are inside the Hyperhub
Once logged in, the Hyperhub gives you the settings most people came for: the WiFi network name, the wireless password, a restart and a factory reset.
On the Zyxel Hyperhub models the path is specific and worth writing down. Open the dropdown from the menu icon in the upper right, then go to Network Setting, then Wireless, then the General page. The Wireless Network Name field is where you rename the network. The wireless password sits under Security Level on the same page, where you untick the option to generate a password automatically before entering your own. Press Apply at the bottom of the page or the change does not stick. On the same Zyxel interface, Restart lives in that upper-right menu, while Maintenance then Backup/Restore holds Reset All Settings. A hardware factory reset means holding the recessed Reset button on the rear with a pin for about twenty seconds.
That path is the Zyxel path. It is not the ZTE path, the Nokia path or the Tilgin path. Those interfaces put wireless settings under differently worded menus, and the reset behaviour is not identical either. Having identified your model from the label, use the matching guide in Hyperoptic's help centre for the exact wording, and treat any single set of steps that claims to cover all Hyperhubs with suspicion.
Hyperoptic does not publish one answer for bridge mode or third-party routers
This is the honest part, and it matters more on Hyperoptic than on most providers precisely because of the eight-model spread.
Hyperoptic does not publish a single, model-wide statement on whether the Hyperhub offers a bridge or modem-only mode. With four manufacturers and eight units in the field, the capability is not something to assume from a forum post about a different model to yours. The same applies to what the terms say about running your own router in place of the Hyperhub. Before buying hardware on the strength of either assumption, check the guide for your specific model in Hyperoptic's help centre and ask Hyperoptic support directly about your unit and your contract.
The same caution applies to any list of default passwords, port forwarding walkthroughs or firmware advice you find that does not name your exact model. Generic Hyperoptic instructions are the single biggest source of failed logins on this provider, because the advice was almost certainly written against one of the other seven routers. The model name on your label is what turns vague advice into instructions that actually work.
Total Wi-Fi is the Hyperoptic answer to rooms the Hyperhub cannot reach
Plenty of people open the Hyperhub settings hoping a checkbox will fix a weak signal in the back bedroom. Coverage problems rarely have a settings answer, because the limit is the distance and the walls rather than the configuration.
Hyperoptic sells its own fix for this, an add-on called Hyperoptic Total Wi-Fi. It is a mesh service built around an extender unit Hyperoptic calls the Minihub, which pairs with a compatible Hyperhub to form a single mesh network. The practical benefit is that your devices keep the same network name and password as you move through the property instead of you having to switch networks room by room. Hyperoptic says one Minihub suits many homes, with an additional unit available where one is not enough, and it can be added when you order or bolted on to an existing service later. It only works with Hyperoptic broadband, so it is not hardware that follows you to another provider.
Whether that add-on or a mesh system of your own is the better answer depends on the size of the property and how many dead zones you are actually fighting. Our guide comparing a WiFi extender against a mesh system sets out where each one genuinely wins.
Fix a Hyperoptic router login that will not load
When 192.168.1.1 returns nothing on Hyperoptic, work down this ladder in order. The causes near the top account for the overwhelming majority of failures.
Check that the device is genuinely connected to the Hyperhub. On a phone this usually means mobile data has taken over, so turn mobile data off completely and confirm the WiFi shows the Hyperhub network before trying again. Check you have not joined a guest network, because guest networks are deliberately isolated from the router's own settings panel and will never reach the login page. Check you have not landed on a neighbour's network, which happens easily in blocks of flats where Hyperoptic is common. Confirm the address went into the browser address bar rather than a search box, since that single mistake is behind a large share of failed logins.
If the basics are right, disconnect any VPN, which reroutes traffic away from your local network. Try a different browser or a private window to rule out a cached redirect, and try a laptop on an Ethernet cable to remove WiFi from the equation entirely. Hyperoptic also runs its own connection troubleshooter and speed test in its help centre, which are worth running before contacting support.
If the login works but the connection itself keeps failing, the login page was never the problem. Our guide on WiFi that keeps dropping covers the causes behind an unstable connection rather than an unreachable settings page.